The TL;DR
Gnome is a really well designed and implemented user interface. It is the flagship environment for GTK applications and it has a very elegant, dialed in appearance.
If you hop on a forum or social media looking for information on Gnome it can seem the opinions on Gnome are polarizing. Admittedly, the usage paradigm is a little different. If you are not an appreciative user interface nerd but more used to other environments, it can be off-putting.
Until recently I was in the group of occasionally trying Gnome and then removing it for something more normal. Then I forced myself to give it a serious try. I added customizations to make it work the way I expect a desktop environment to work. These are not huge changes
I use a number of tweaks and extensions with Gnome to make it behave in a way I’m more used to while still being able to leverage what makes Gnome a great desktop environment.
Some of the tweaks change the look and feel of the environment and change font sizing to try to get a 100% one-to-one representation of what’s on the computer screen to be the same as what is output in the physical world. An example of the result of this is opening LibreOffice Writer and when in the editing window at 100%, holding up a piece of letter sized paper to the edit window and seeing that they are roughly identical.
There’s a number of other “quality of life” or “niceties” I do as well. And eye-candy - gotta have eye-candy!
The end result is an interface that is a desktop with a dock at the bottom of the screen where I can pick regularly used applications or click into the screens of installed applications.
What I like may not be to another’s taste and that’s great! The goal of this post is to show what is possible as a starting point for your customization.
Why bother with any of this?
There’s been a lot of words written about the different desktop environments available for Linux and FreeBSD. Some of it is even verging on being the basis of a culture war.
For the longest time I avoided using Gnome because every time I installed it and tried it I was put off within a matter of minutes. The paradigm of using the desktop did not click with me. Which is weird; I’ve used “everything” over the last forty odd years.
About nine months ago I decided I wanted to give Gnome a more serious try. This was mostly due to some things that my youngest son mentioned to me one time when he was home from university. He was starting his journey of exploring Linux and desktop environments and had settled on Fedora and Gnome. In talking to him about “why Gnome?” he mentioned that he really liked how the gestures work on his laptop touchpad and the general polish of the environment. Perhaps it was time to give it a more serious look.
You can’t argue against GTK/Gnome applications having a polished looking framework. They look elegant and a lot of the mainstream FOSS/FLOSS desktop applications are built with GTK so they look at home in Gnome.
The Experiment
At the time I had been using KDE Plasma under Debian Bookworm (version 12) for about a year. Before this I was running System76’s Pop_OS! with Gnome 42. System76 adds their own COSMIC Gnome extensions that makes it their version of Gnome and their version is more normal if you know what I mean.
When moving to Gnome I added a bunch of extensions to make vanilla Gnome more like Pop. This was Gnome version 43. It was a pretty seamless transition once I nailed down which extensions to install.
When Gnome 48 appeared in Debian Trixie I decided I wanted to give it a try. This required migrating my workstation to Debian Testing (i.e. Trixie) at the time. I also waited several weeks after Gnome 48 hit Testing. I didn’t want to go straight in with the first wave of early adopters (there be dragons!).
When I made this jump to version 48 I wanted to try using Gnome in the way that the developers envisioned. That is, with no extensions, just use the environment as intended.
I ran it this way for something like six weeks and adapted without issue for the most part. But, there were still instances where I would lose focus when using the overview mode on Gnome to switch applications.
To be honest, I still don’t understand what it is about the overview, but when I have many open windows I get lost when switching and it breaks concentration. By many applications I mean having something like a dozen open terminal windows, a half dozen or more browser windows, some other miscellaneous applications open and being at the point where on a large 4K/UHD screen it is hard to figure out which is which in the overview mode. I need something else to help navigate open applications. Sure, it’s a rarified use case I guess, but it’s my use case.
All that to say that after the experiment I decided that installing Dash to Dock is not such a bad thing for me. And once you install one extension, why not a few more?
A Note About Upgrades
As with any customization, one needs to be aware that platform upgrades can break things. Be prepared to deal with the fall out of things breaking. I strongly recommend writing down or taking screen shots of any changes made - until it becomes second nature at least.
At some point Gnome 49 will be released and this will be extension breaking in some cases until the extensions are upgraded. So, don’t upgrade Gnome until the extensions you care about are available for the new version.
Sometimes extensions don’t get upgraded to work with the new Gnome version. It’s something to be aware of and if an extension you like looks like it has not seen an update in a long time… it might be one that doesn’t get updated.
Starting with a blank canvas and getting some familiarity
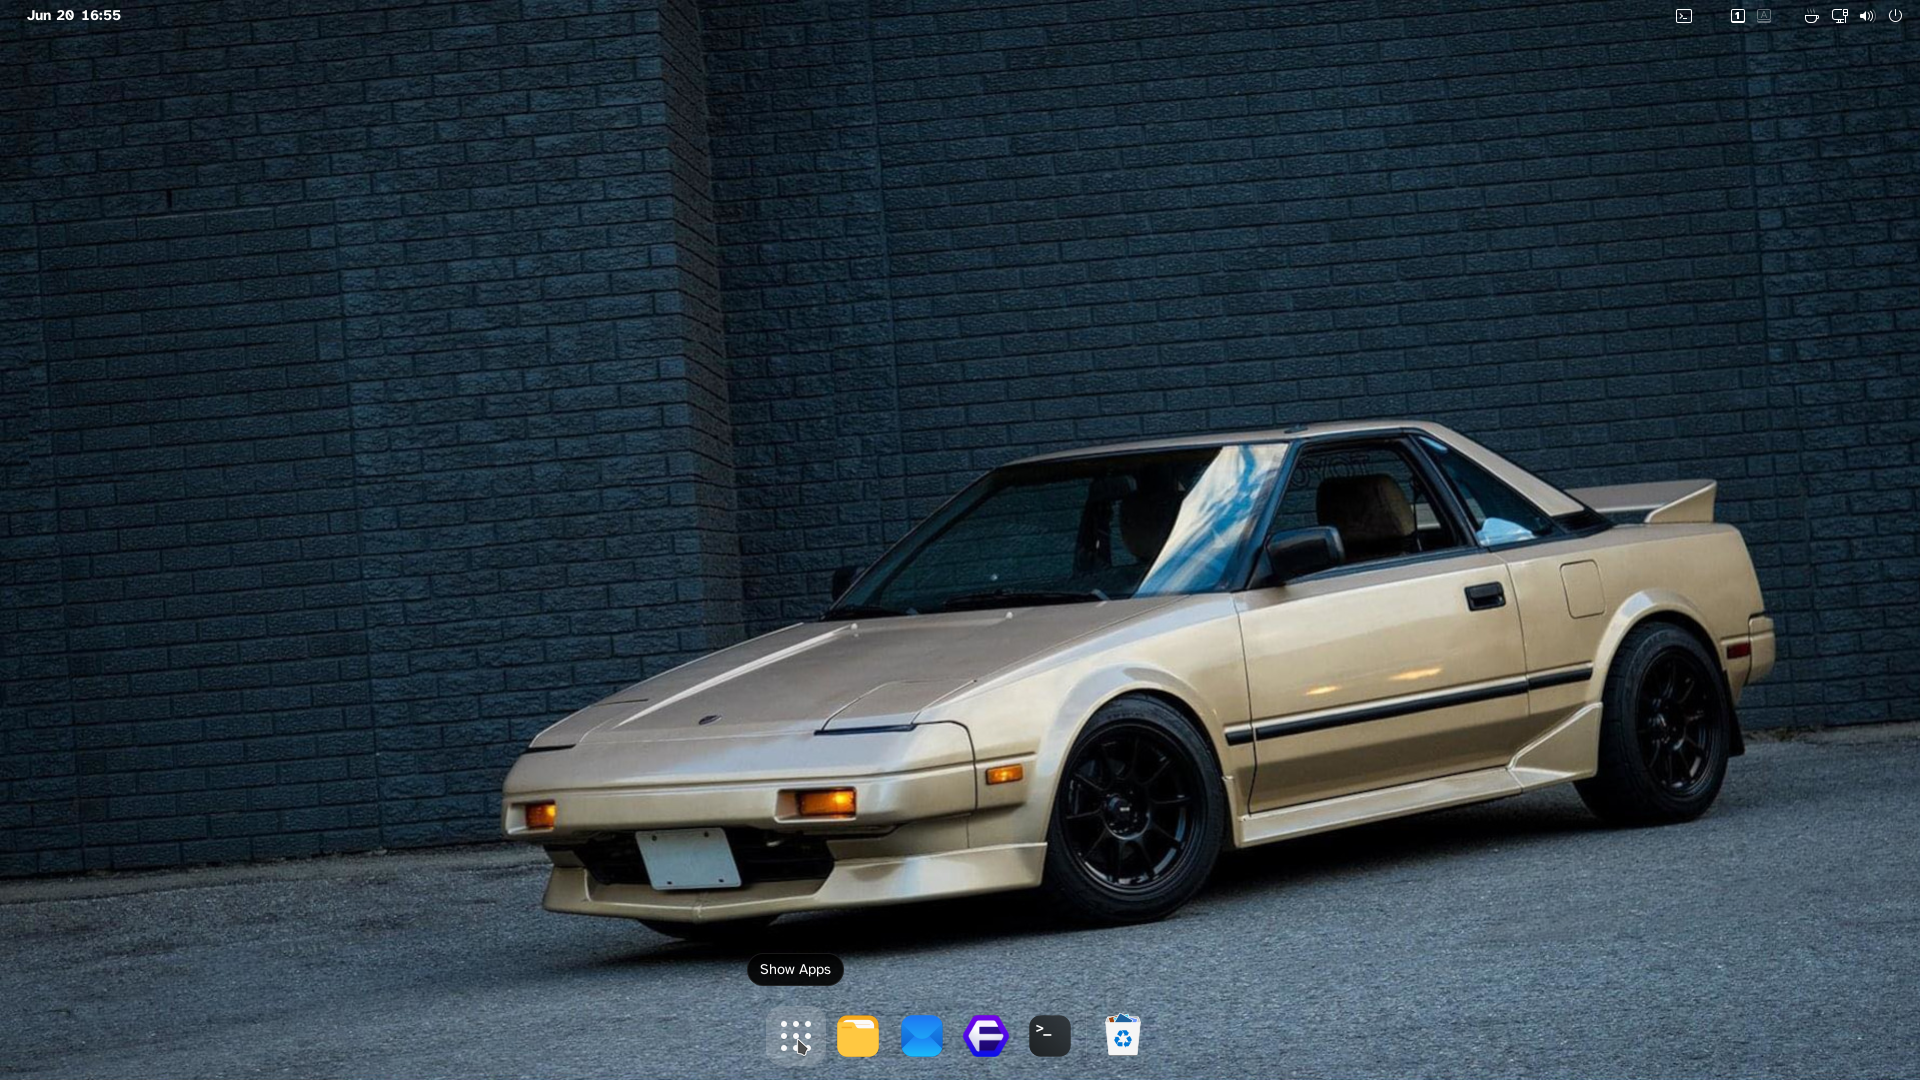
This is what you are presented with when logging into a Debian Trixie (as of 2025-06-20) host with Gnome as the desktop.

Trying to be diplomatic, this is not very welcoming in my opinion. I think a lot of the ‘off-put’ for new users could be mitigated if logging in the for first time was not in overview mode. I’ll guess that this is the default view to make the dock available at first login.
Let’s figure out what version of Gnome we are using, just to be certain. Clicking the power button on the far right of the top bar or pressing Super+S on the keyboard opens a dialog.

Clicking the gear symbol (second from left) takes us to Gnome Settings. Find the System entry on the left pane.

Click About…

Then click System Details…

We can see this is a virtual machine running Debian Trixie and the Gnome version is 48.
Now have enough information to get rolling.
Closing Settings brings us to a empty desktop. Pressing Super by itself or clicking Activities at the top left of the screen will bring us back to the overview.
Also, pressing Super+a on the keyboard displays our Workspaces (virtual desktops) and installed applications.

Clicking on an application will launch it. Switching between Workpaces is done with Ctrl+Alt+left|right arrow and can be done at any time and in any view.
Docking Procedure
The first extension I will install is “Dash to Dock”. This extension makes the dock in the overview a permanent resident of the desktop when not in overview.
Typically, I will install Gnome extensions using the Linux distribution’s command line interface but for this post, to keep it simple and distribution agnostic, I will show how to do it using the Gnome extensions web site.
Open a browser and navigate to https://extensions.gnome.org

Search for “dash to dock” (second item when I captured this screen).

I usually install the browser add-on for this site and in the interest of keeping this long post from getting even longer, that’s the method for installing all extensions that will be shown here.
Clicking “Click here to install browser extension” will start the process of installing the plug-in and then install the extension itself.
Click “Continue to Installation” in the extensions dialog.

Next click “Add” to add the shell integration

Another pop-up appears to allow the web site to install extension links. Checking the check box beside Always allow… is optional. Click “Open Link”.

And finally the extension installation is handed off to Gnome itself and it prompts whether to install or not.

Installing the next extension will be much more straighforward.
Our desktop now looks like this with the dock being visible on the desktop at all times.

Making Tweaks
Gnome has removed some of the normal window controls. Namely, the absence of minimize and maximize window controls for an application. Looking at the file manager we can see the close button at the top right but no minimize or maximize.

Sure, there’s keyboard short cuts for them but I want the visual controls on the screen.
In order to add them back the most straighforward way is to install Gnome Tweaks. Tweaks isn’t installed by default on many Linux distributions but I see it as an essential tool. It can be installed via the Software Centre or from the command line.

Once installed we can press Super and start typing tweaks…


In the Windows section you can turn on/off the minimize and maximize window controls and you can move all the buttons to the left or right. I keep them on the right so that it aligns with finger and mouse memory when I have to use a Windows computer. If my other computers were Macs I’d likely move them to the left.

Gnome tries to have an application’s controls, settings, and whatnot in what is traditionally known as the title bar. It’s a cool look and I like it.
But, enabling these buttons may make it impossible to grab an application by the title bar to move it around the screen because there is no title bar left to click upon. When that happens you can press and hold Super while clicking anywhere in the window to move it with the mouse.
Another setting I find useful is to make the application focus follow the mouse. This is useful on a stacking/floating window manager so that you don’t have to constantly be raising windows to paste text between windows or control an application without losing desired focus, etc.
You can adjust it so that the window is auto-raised as well but I don’t use it that way any more. The time between focus change and auto-raise can be set using another GUI program called dconf-editor or on the command line with gsettings. I think it defaults to 500ms which is a bit short for me. This setting always reminds me of Open Look on SunOS from back in the paleocomputing days.

Another tweak I will make in the Windows section will be to make the Titlebar Action for Middle-Click be minimize
The default fonts that Gnome ships with are excellent. I do change them though. My old eyes need a little extra help so I will change Interface Text and Document Text fonts to Atkinson Hyperlegible. This is an excellent free font from the Braille Institute. I think it is a really good looking font also. For monospace I’ve latched on to the free AudioLink font lately. I find it legible when staring at walls of text in console windows so it works for me. This might not be everyone’s taste but I include it more for a sense of how to change the interface than what to change the interface towards.

The Scaling Factor option is important as well. With XFCE you can calculate and set the explicit dpi of the screen fonts but that is not available in Gnome. You need to fudge it with a magic scaling number. On my main workstation with a 32" UHD screen, setting the Scaling Factor to 1.43 makes the fonts on screen look the correct size and things like holding up a physical piece of paper to the WYSIWYG LibreOffice Writer editing screen makes it appear to be one-to-one on screen.

Next, or perhaps this should have been the first step, I switch the interface to dark style:

And adding some custom wallpaper…

Useful Functional Extensions
Onwards with making Gnome my own. I will add some more extensions for utility.
ddterm by amezin
ddterm creates a drop down terminal from the Top Panel. Why not use a regular terminal window? I find this is handy for running a monitoring process or quick hack-n-slash commands where I don’t want to affect the existing windows on the desktop. An example is starting an application like btop to monitor the host while it is doing something intensive. You can watch the system do it’s thing and quickly hide/un-hide with F12 as necessary.

Caffeine by eon
Caffeine is a great little widget for fine grained control over the screensaver and suspend functions.

No overview at start-up by fthx
I’m probably too much of a control freak. When starting a session I don’t want the overview, I want my desktop with the dock ready to launch applications.
Quick Settings Audio Panel by Rayzeq
This is another tool that gives fine grained control over the system. This time for audio inputs and outputs.
Top Panel Notification Icons /w Count by jiggak
This one is handy for getting your attention.

Lock Keys by kazimieras.vaina
How many times have you accidentally pressed the Capslock or numlock keys and not noticed? Does your keyboard not have lights to indicate when they are on? This is a great add on indicator for these keyboard modes.

More Eye-Candy
The next set of extensions and tweaks are more about fine grained customization.
I tend to theme GUI’s in a dark grey with orange and white as the contrasting control colours. Back in Gnome Settings, let’s set the Accent Color to orange (Settings says it’s yellow but looks orange to me).

Coverflow Alt-Tab by dsheeler
I like the look of this Alt-Tab switcher. No other reason for it as it isn’t a functional add-on really. Trying to get a screenshot of it in action was more trouble than it was worth. It has an additional “Timeline” mode.
Just Perfection by JustPerfection
Under visibility I turn off the Activities Button as it’s never used.
Blur My Shell by aunetx
This one is necessary to fine tune more of the interface. Following is a walk through of what I do as an example.
First, I adjust the Top Panel to be transparent by setting the Blur type to Dynamic and setting Sigma to 0. This only is suitable when the background image is dark in this region otherwise the text and icons get washed out.

Then the Dash is adjusted to be transparent as well.

Changing the icons
If you go on gnome-look.org or github there are literal thousands of options for desktop icons.
When picking an icon set, or any custom set of objects for a desktop, it is important to try to find something that is regularly updated and not out of date. Even then it can be hard to determine what will work without installing.
Always only install for a local user first (not system wide) to try out new objects. Why does it matter? Sometimes an icon set will be old enough that it doesn’t contain icons for newer applications and be generally problematic.
I like the icons on the desktop to be ’less busy’ but reasonably indicative of what information the icon is meant to convey. I’ve settled on the “Reversal Dark” icon set for my own purposes. When a set of icons has the word ‘dark’ in the name that means it is intended to work with a desktop that is set to dark style/mode. In a lot of cases there is not much difference between light and dark sets so if the mode you want is not available try it anyway. The icons may look fine in either mode.
Following is how to install a custom icon set once you’ve found something you like. The page for Reversal:
![]()
Notice that the page refers to a github page. This page is likely to have the most up to date version of the icons. The page doesn’t describe how to get the icons on to your computer so it is implying you need to figure that on your own.
One way to do this is via downloading the zip file in the code button or using the git command. I preferential use git since it places the files on the computer without having to handle and unarchive a zip file.
![]()
Let’s use git!
This is a clean install of Debian so git is not installed. to install…

Now that git is installed let’s clone the repository. I usually create a new directory off the home directory or Downloads for things downloaded by git. So, creating a new directory, moving into the directory, and then cloning looks like this:
![]()
The instructions say to use the included install script (install.sh) in order to install the software. Let’s take a look at the install script.

This script does some logic to determine if the script is being run by root or a user and copies the icons to either the system’s location for icons (DEST_DIR="/usr/share/icons") or to the locations for icons for the user only (DEST_DIR="$HOME/.local/share/icons).
To install to the system location for icons this script would have to be run with sudo or as root directly.
One positive thing about installing it for only the user is that the files get installed into the user’s home directory. If there is a need to restore a system from backups then the files are there and ready to go instead of re-installing.
The downside is that if there are other user accounts on the system then those users don’t get to use those icons.
For the record, these are “just files in a directory” and could be copied at the operating system level into another user’s directory or the system directory (via sudo / by root) to make these icons available system wide.
![]()
Next, Gnome Tweaks is used to enable the icons.
![]()

Tuning the dock
Next we can tune how the dock looks. Right clicking on the Show Applications button will bring up the Settings menu for the dock.

In the Launchers tab, moving the Show Applications button to the left can make it align more with other operating systems if it is preferred.

Another interesting setting is disabling Show overview on startup.

Setting this here negates the need for the extension above called “No overview at start-up”.
Mouse Cursor
The mouse cursor can be themed as well. I like the look of the Breeze themed mouse cursor from KDE Plasma so I install a variant of that cursor.
I found this one with a web search:

The installation instructions say to download the latest release from the Releases page.

Taking a look at the contents of the tar ball it and the repository itself there are no surprises. Let’s install it following the directions on the page.

And then we enable it in the Appearance section of Gnome Tweaks.

Theming the GDM Login Screen
By default Gnome uses GDM as it’s login session manager. On a fresh install, depending on the Linux distribution used, the login screen may not match the desired screen resolution of the computer desktop. It’s a minor thing but looks better if the login screen resolution matches the desktop. Also, we can theme the GDM login screen to match our desktop.
In order to modify GDM we need to install another application called “GDM Settings”. This is a flatpak application available in the Gnome Software application after we have added the Flathub repository. Instructions to add Flathub can be found at https://flathub.org/setup.

Once we find and click on it we can click Install to install the application.

When we launch the application for the first time we are greeted with a scary notification. Read it and click I Understand if you are brave enough.

Under Appearance we can set the Accent Color to what our desktop is using if so desired. For whatever reason, this didn’t work on my virtual machine. At some point I may go look at ~gdm/.config files and update this post.
We can also change the wallpaper. Again, if a wallpaper with a light top edge is picked this may wash out the contents of the Top Panel if transparency has been enabled.

I will change the font to Atkinson Hyperlegible and the size is increased for good effect.

From this application we can also set the GDM display resolution to match the desktop. This is a nice feature and saves having to manually copy ~/.config/monitors.xml to /var/lib/gdm3/.config/monitors.xml.

Apply at the top left is used to apply all the settings.

Hitting apply brings up the Authentication Required dialog to apply the changes since root access is required to modify some of the settings and files.

For this virtual machine this is what the GDM login screen looked like before applying these changes.

Afterwards, we get something in the correct resolution with custom font and wallpaper. As mentioned above, for some reason the accent colour doesn’t work. With this image I’m not even annoyed - it works.

Keyboard Tweaks
In the Settings > Keyboard section there are a number of powerful, predefined keyboard accelerators. They are worth investigating as these are the default Gnome keyboard accelerators.
Compose Key
One that is not turned on by default is the Compose key. At least in Debian it is not turned on by default.

This is the easy way to create accented characters. I have mine set to the keyboard menu key but other options are made available.

After setting it we can test it by pressing Menu on the keyboard and entering the letter e followed by an apostrophe to create an e with accent aigu (acute é).

Shortcuts

I use a number of custom shortcuts.

Launching the web browser and the file browser are especially used regularly.

I have Super+s mapped to Settings above and that means the default Open the quick settings menu below gets disabled. I’ll probably revert this as it’s unnecessary once the desktop is configured fully. None of this has to be permanent.

Custom keyboard shortcuts
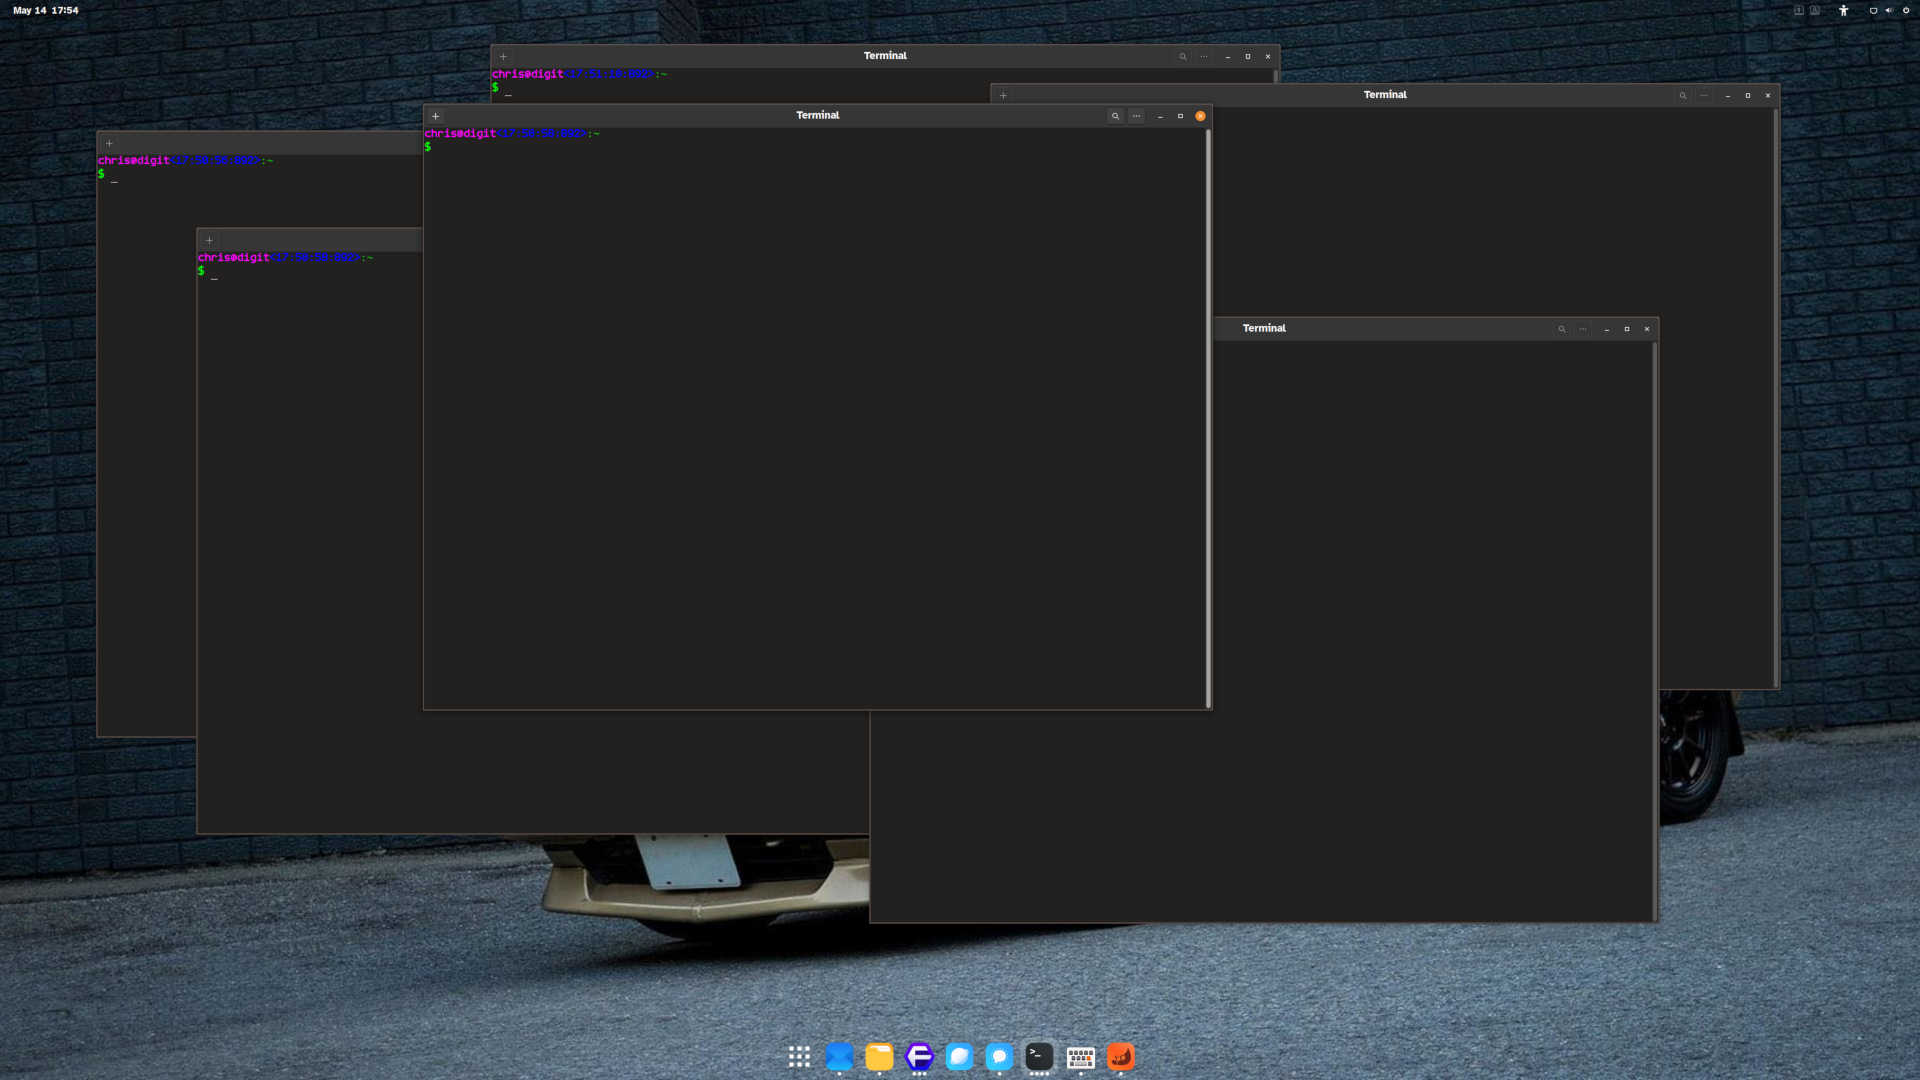
The most important keyboard accelerator I use is to open the terminal. Super+t opens the terminal in it’s own window. Press Super+t three times and you have three terminal windows.

Custom Window Borders
I have an earlier blog post that describes how I tweak the window borders to have a more defined edge so that where one window starts and another ends is more easily seen in some scenarios.
Final Desktop
Wow! That was a lot.
There’s many, many things that can be further tuned. I’m content with this - for now.
If you’d like to comment, I posted on Mastodon.